How to Pick Photos
If you keep your photos fairly organized throughout the year, separating your favorites will be a breeze, but if you’re a little behind, that’s no problem at all. Try these quick and easy ways to sort your favorite photos from an unorganized archive:
Create a folder on your desktop for holiday cards. Sort through all the photos in your digital library and copy your favorites into your holiday card folder. Delete this folder when you’re done with your project. You don’t need these duplicates taking up extra space.
If you end up with more favorites than you expected, consider what you want to use them for before you begin to narrow them down any further. For example:
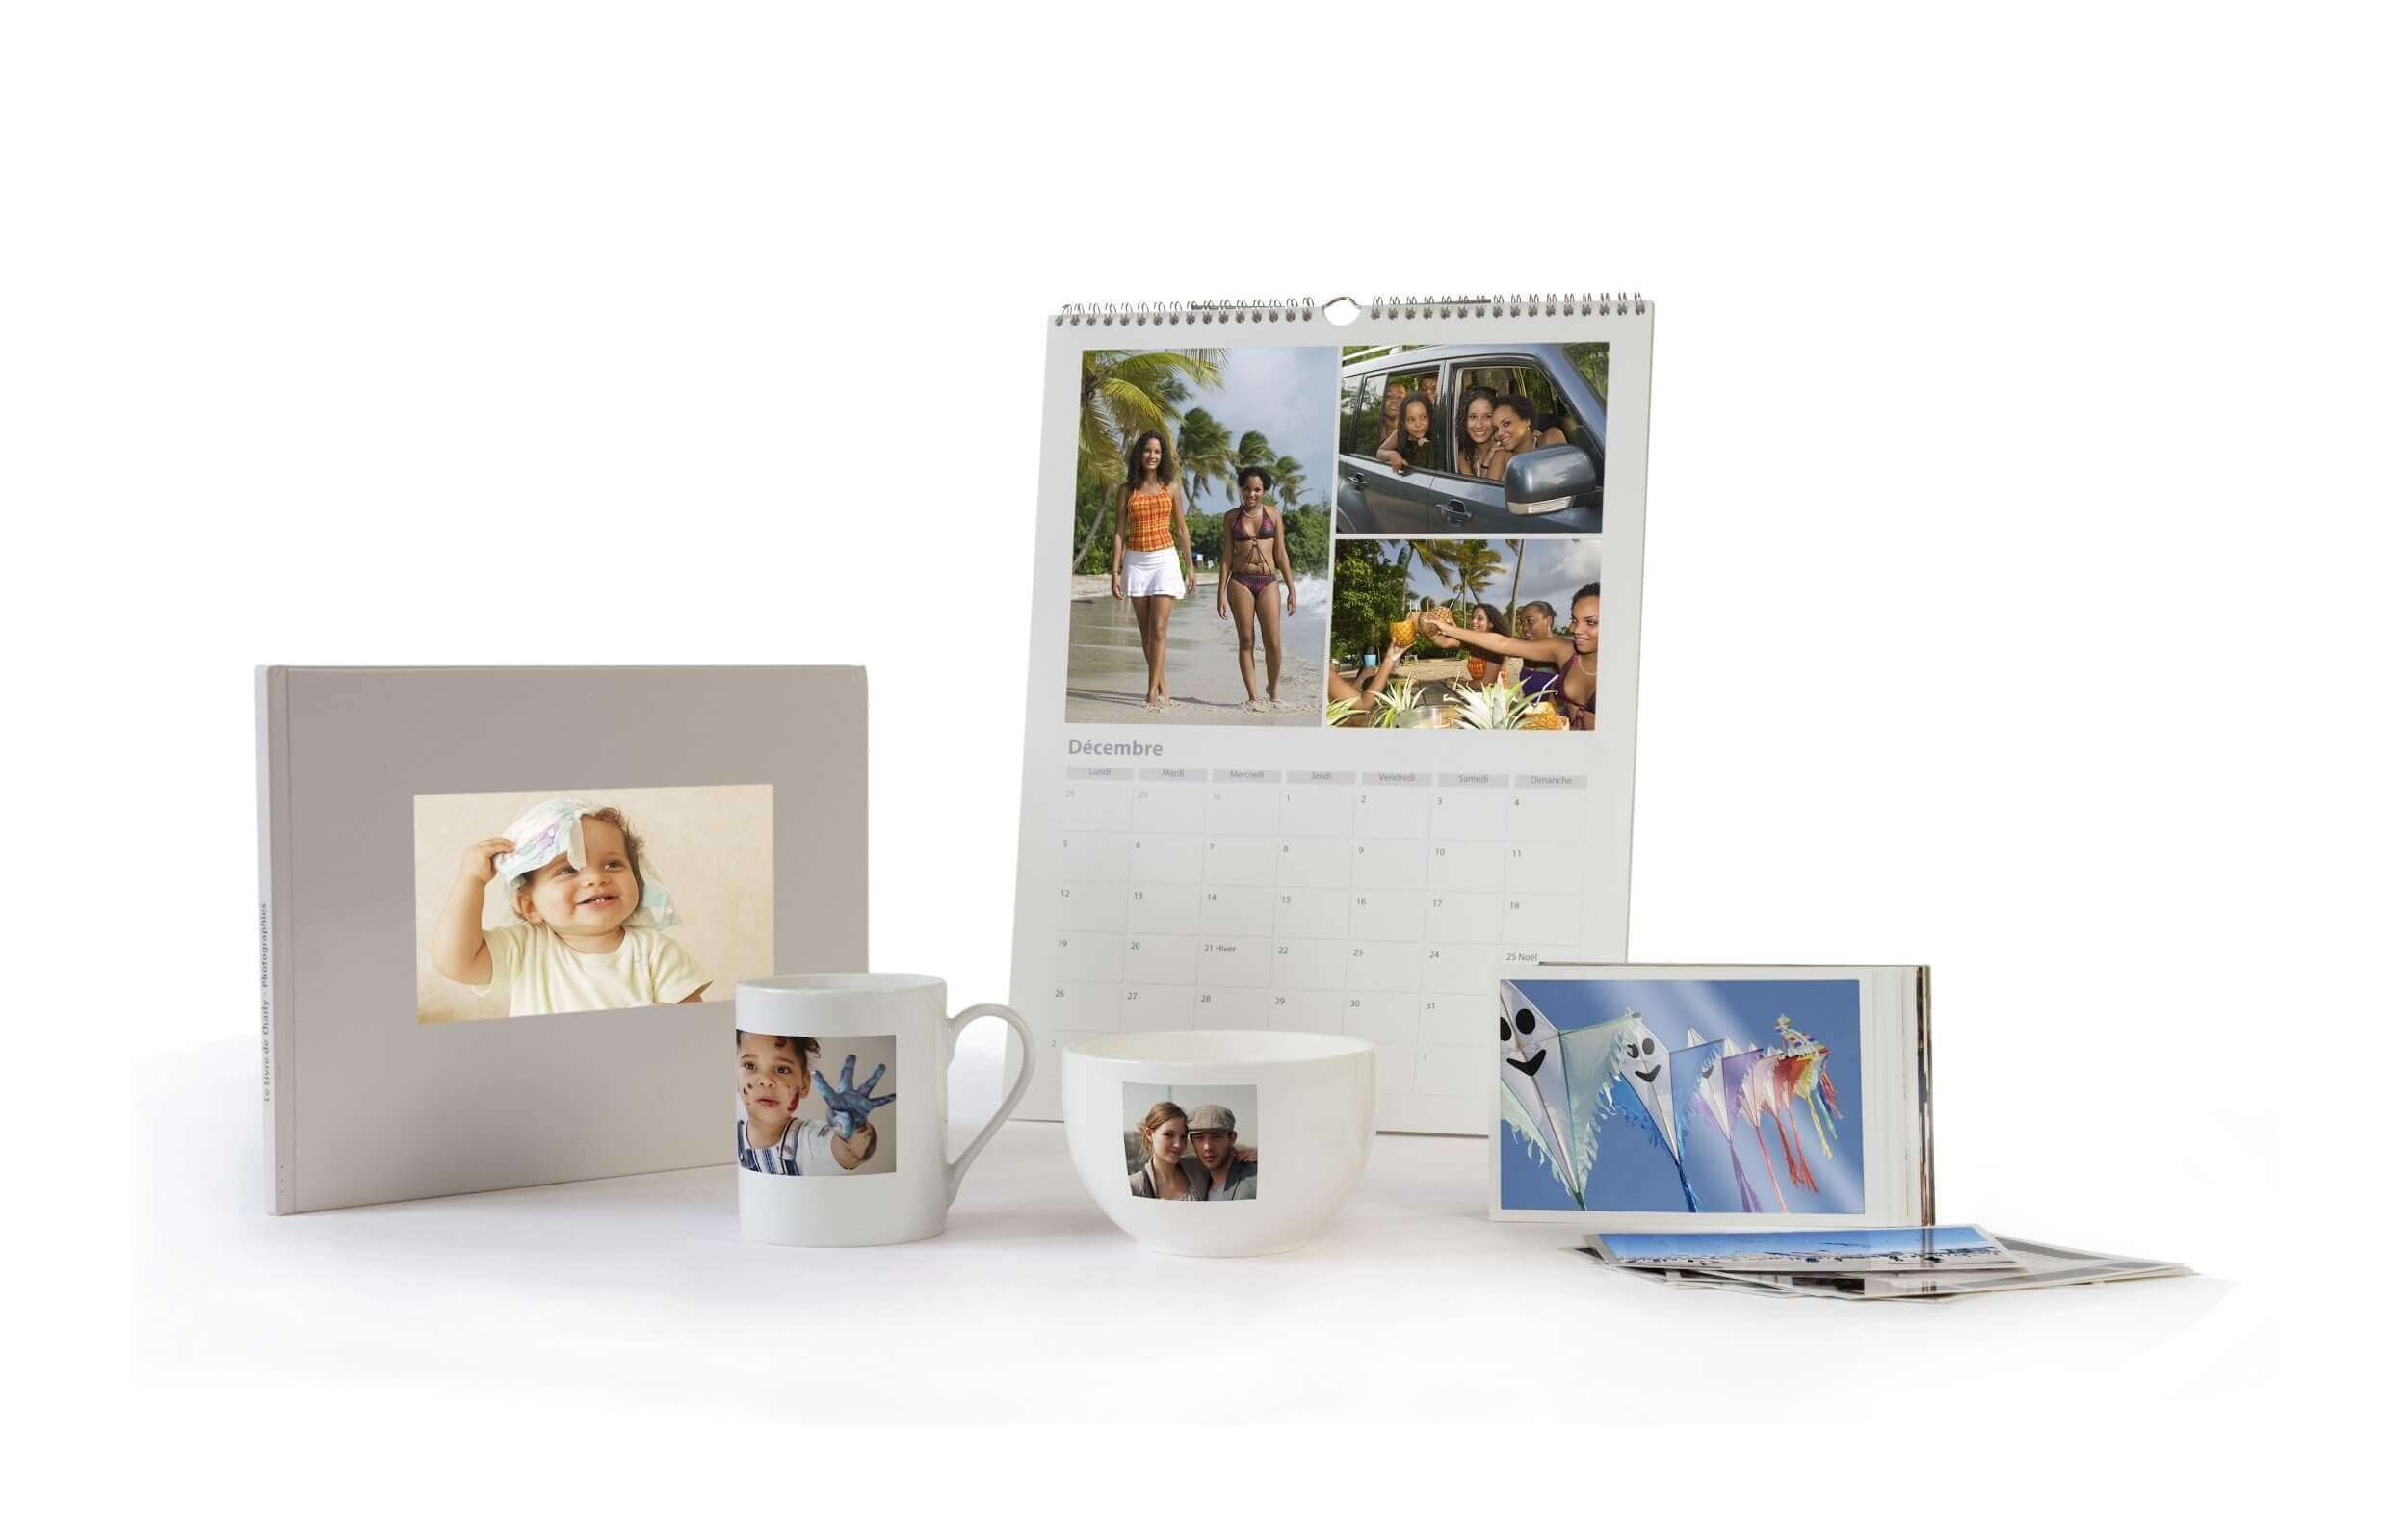
Photo calendars need 12-25 favorites, depending on your layouts. Photo cards and art prints need one to three of your best. Photo books need at least 50-75 to be comprehensive.
Once you have a sense of how many photos you need, use these tried-and-true tips for photo selection:
Trust your gut. You added it to your favorites for a reason. Group shots of your whole family are some of the best you’ll have! Make sure everyone is looking at the camera, nobody’s limbs are cut off, and everybody is smiling. If a photo looked great as a thumbnail, but it’s a bit blurry when enlarged, it won’t print well. Stick to your favorite photos that are crisp when opened to full size. The resolution of your photos will look different on your cellphone or computer than when printed. Your cellphone photos are designed to be viewed on your screen and have a smaller number of pixels. You can still use them for projects, just don’t make them too large.
Photo Calendar
Showing off your favorite photos from the year in a calendar is a classic photo gift. Calendars are popular and easy to make, and professional sites, like Shutterfly, will give you fun templates and layouts to choose from. There are many ways you can organize a calendar to make it enjoyable for the whole year. Try one of these fun ideas:
Choose your favorite photo from each month for the last 12 months. You can also choose a favorite photo from each child for each month and have a group of photos. Create a theme for your calendar and use photos that relate to it. You can alternate between single photos or multiple photos depending on the month. For example, you could create a calendar of all of your baby’s firsts from her first year. If you choose a single photo for each month, each photo should relate to its corresponding month. Unless your family has a tradition of spending winter vacation on white sandy beaches, it won’t make much sense to place summer photos in the month of December.
Personalized Cards
Photo holiday cards have become more and more popular over the years as they become more beautiful and personal. Sites like Tiny Prints provide a large collection of designs that allow you to choose one or more photos and a personal message from your family, and premium options let you include fun details like foil printing and rounded edges. Use these tips to make your family photo cards worth saving:
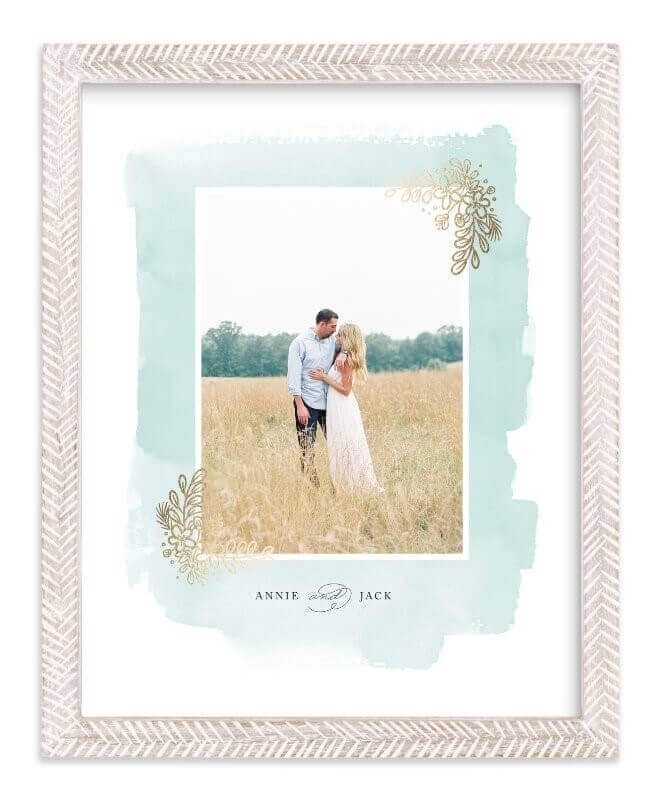
Frame any photo cards or printed photos that you want to keep safe. Keep in mind that cards with rounded edges are harder to frame. Try a letterpress design if you don’t want to bother with a frame. Letterpress uses a press to leave behind a tactile design, and it comes on thicker, finer paper. Go for a foil that stands out — try a rose gold instead of the traditional yellow gold.
Fine Art
If you really want your pictures to dazzle, try foil printing for your prints. Don’t be afraid to be unconventional with your photo choices. Collage templates and squares allow you to utilize your favorite Instagram photos. Select a frame that will accent the photo and work with the furnishings and decor of the family member you’re gifting it to.
Photo Books
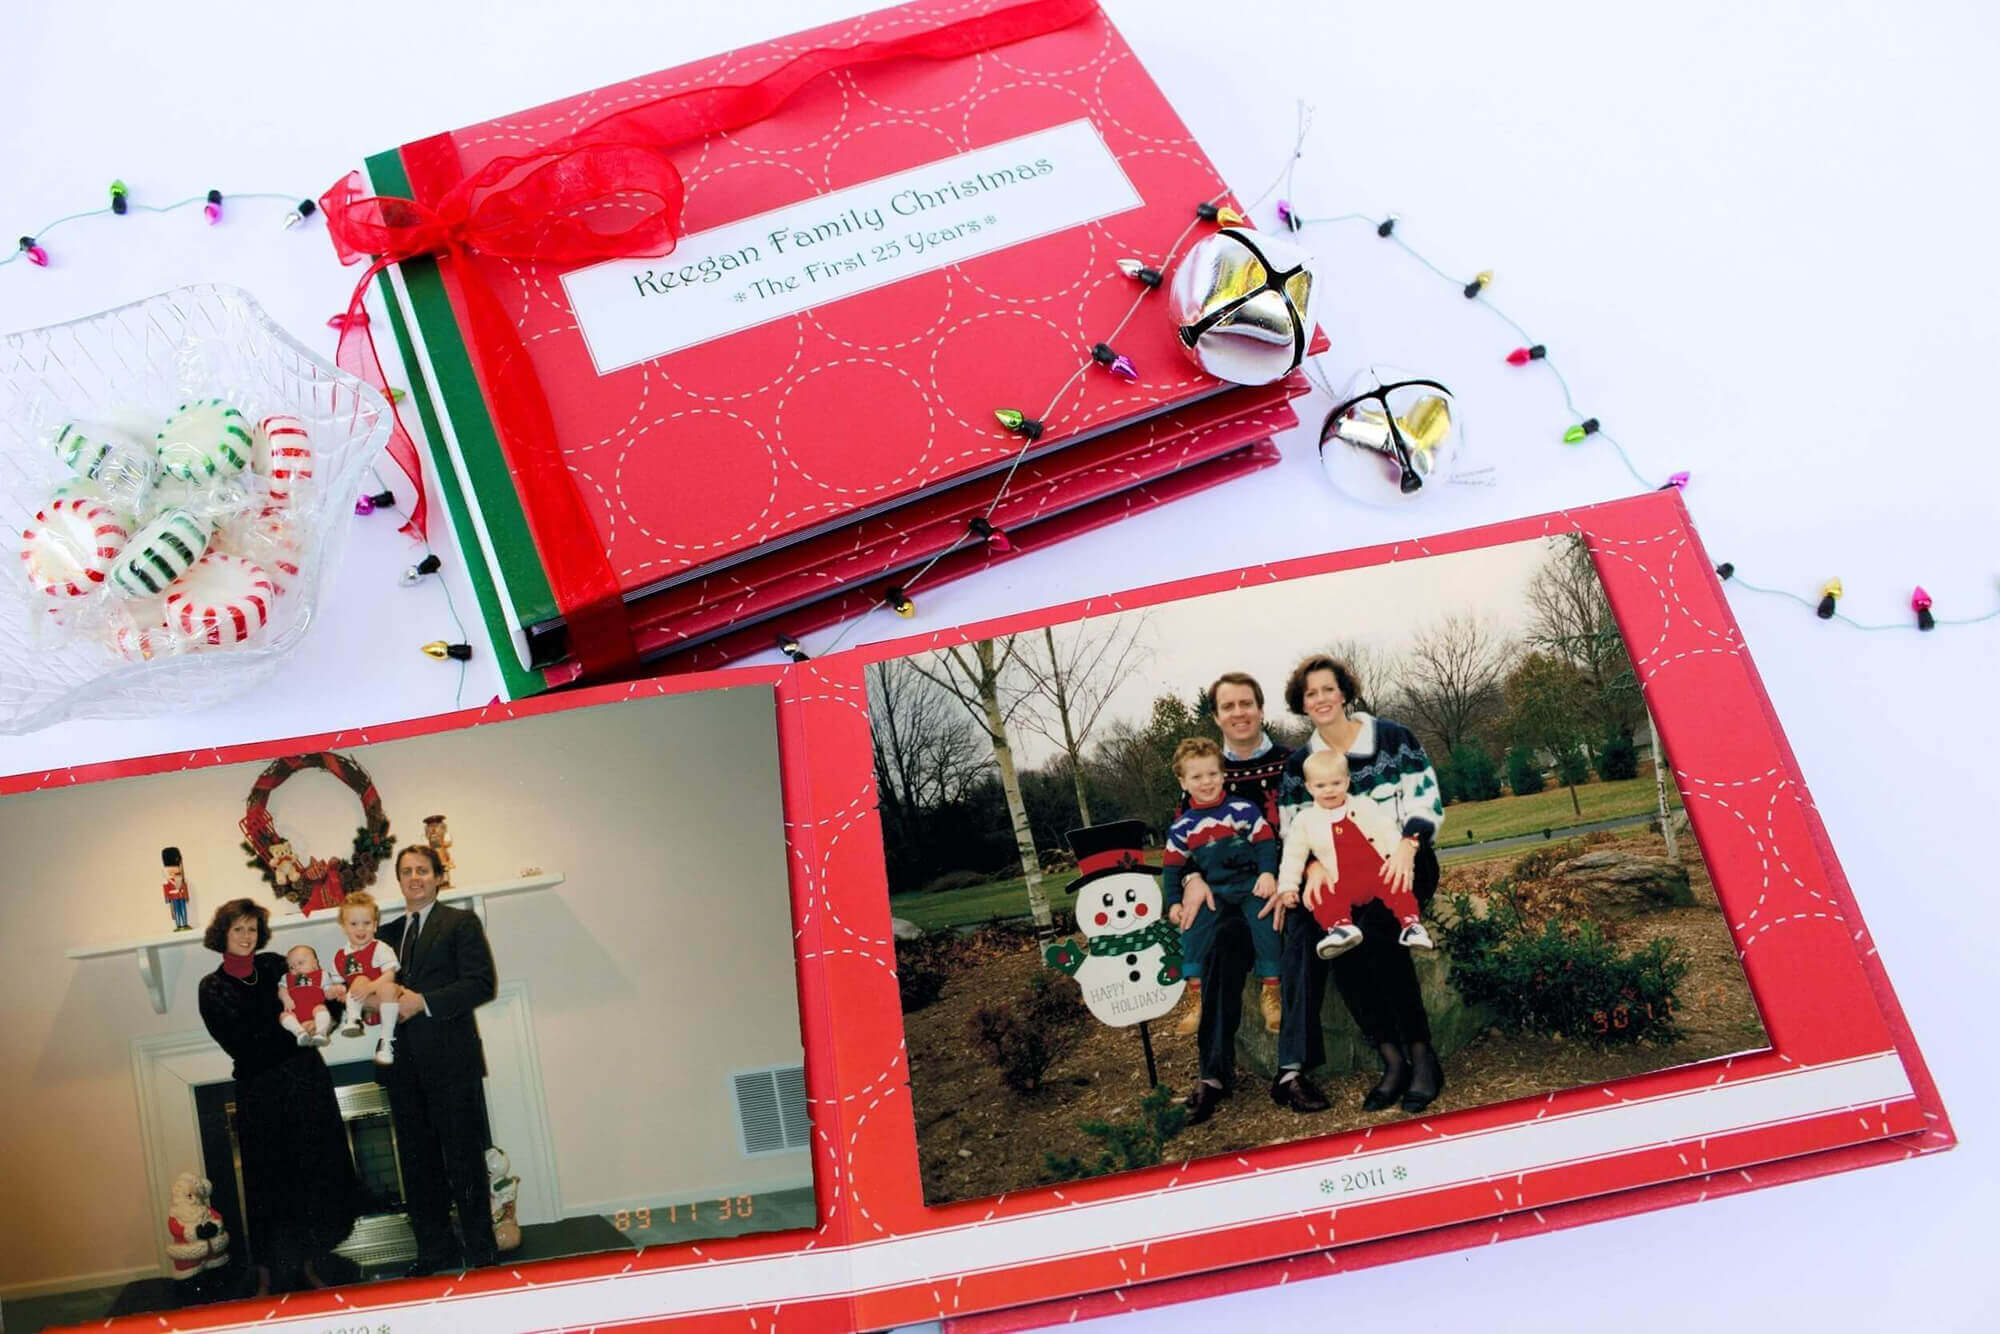
Photo books are fully customizable, able to hold up to 100 photos, and allow you to give a uniquely personal gift. If you have the time and the motivation to put together a photo book, it will be cherished for generations. Try these tips when approaching this project:
Use the “yes”, “no,” “maybe” method for your photos after you’ve sorted your favorites into an album. As you’re going through, mark a star on any “yes” photos you can’t live without having in your book, and delete anything you don’t think you need. Your “maybes” are the photos that are left unstarred. Utilize the same photo selection tips from earlier to narrow down your “maybes.” If you’ve never made a photo book before, keep it to 50-75 photos. If you’re having trouble sorting down your “maybes,” dig a little deeper into what makes a good photo. If you have five photos from a birthday party that all tell the same story, you only need one or two. Get rid of near duplicates or similar event groups. Do your research on popular photo book sites to see if you like their online software and templates. A 10” x 10” book size is one of the most common sizes you’ll find, and is a great size if you have a lot of photos you’d like to enlarge. Try something smaller like an 8” x 8” if you have mostly cellphone photos. If you only want to worry about choosing the photos, try a photo book design service to provide the design and layout.
DIY Digital Photo Gifts on a Budget
If you’re working within a budget, try these easy ways to use your photos as great gifts for your entire family. Create a Slideshow Online and Share There are plenty of free slideshow makers that operate completely online. Sites like PhotoSnack will let you upload your photos right from Facebook, work with their templates, and easily share the finished product. While it lacks the customization and flexibility of custom slideshows, it is a cost-effective way to share your special photos with friends and family. Use Your Digital Photo Library to Create Fun Animations and Share with Friends If you have a Gmail account, you have access to Google Photos. It syncs all the photos from your devices that are logged into that account to an online platform. On this platform, your photos stay organized by date and are extremely easy to find. Follow these steps to create an animation:
Create a holiday album in your Google Photos. Move 5-10 of your favorite photos from each month into this album. When you’re done with all 12 months, use their animation creator tool to produce an animation from the photos you’ve picked for each month. You can do the full year or month-by-month. You can also share special trips or moments with different family members.
Vanessa Boucher has personally helped over 500 families share memories and history through unique projects as a consultant at EverPresent, the nation’s leading digital photo organizing and photo scanning services company. A graphic/web designer and crafting enthusiast, Vanessa is one of the thought leaders behind EverPresent’s innovative website and blog, where she shares best practices and tips on topics ranging from digitizing irreplaceable memorabilia to creating stunning photo books.


